Saturday, March 16, 2013

GET WHALE WISHES


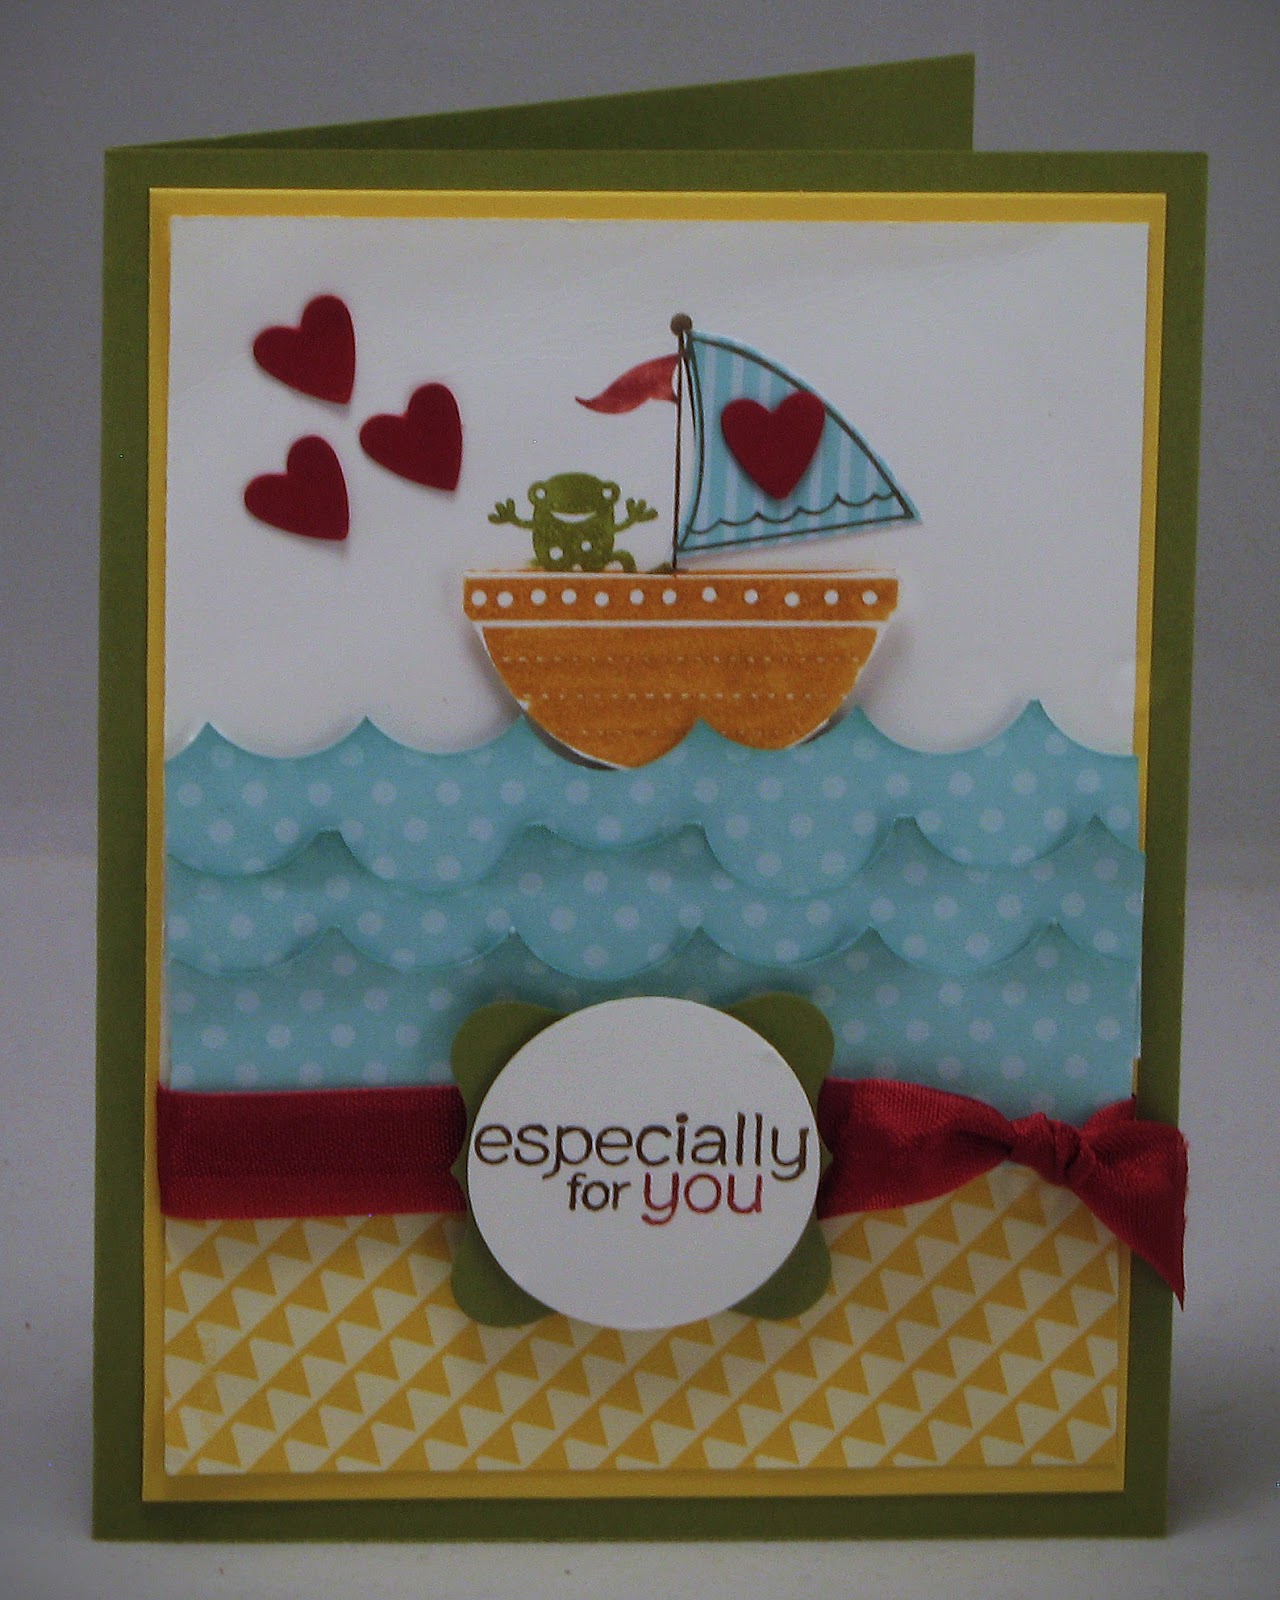
My upline's, Chrystal's, six year old daughter was recently diagnosed with leukemia and is currently undergoing treatments.  I wanted to create a card that would make her smile and hopefully let her know that others are wishing her the best.  Chrystal told me that her daughter loved the card.  She's such a little trooper.

I love the little hearts stamp in the Oh Whale! stamp set.  I wanted to mimic the hearts somewhere else on the card, so I opted for the next to the smallest heart in the Hearts Collection Framlits as my choice.  I embellished my heart with the little flower in the Itty Bitty Shapes Punch Pack by punching several of them in Real Red.  I attached them together with glue dots and "smushed" them together to give the flower dimension.  I topped my flower off with a small pearl from the Pearl Basic Jewels.  I love those things and would hate to see Stampin' Up! retire them.

Do you want to know a secret?  I had a "I could have had a V8 moment" while creating my 3-D whale.  You see, I purchased the lovely matching Happy Whale Clearlits Die to pair with my Oh, Whale! stamp set.  Somehow I forgot about that!  I used my paper snips to cut out the second whale image.  Doh!!!  Am I the only one who does these things?  Please say I'm not.

I'll list the plethora of supplies that I used at the bottom of this post.  I still don't know how to stop the embellishment overload insanity!

Thanks for checking in with me today!  Enjoy your weekend!  Can you believe Easter is only two weeks away?  I'll spend my weekend working on my Easter dinner menu.

Card Recipe:
(All supplies are Stampin' Up! unless otherwise noted.)

Stamps: Oh, Whale!
Paper:  Baja Breeze, Basic Gray, Real Red, Whisper White, Polka Dot Parade DSP
Ink:  Basic Gray, Baja Breeze, Black Staz-on
Accessories:  Itty Bitty Shapes Punch Pack, Paper Piercer, 3/16" Brights Brads, Pearl Basic Jewels, Midnight Muse 3/8" Stitched Satin Ribbon, Real Red 1/4" Stitched Grosgrain Ribbon, Perfect Polka Dot EF, Circles #2 Originals die, Scallop Circle Bigz die, Hearts Collection Framelits, dimensionals, glue dots

Sunday, March 10, 2013

EVERYTHING'S COMING UP POSIES


Welcome back to me!  It's been a very long time since I posted to my blog.  So much has taken place since last October.  I won't bog you down with the details right now as the details are pretty heavy.  However, I have recently started creating again and (gasp) I have even started to take and edit my own pictures for my blog.  It's not that I thought the Hubster was doing a bad job.  I just felt guilty asking him to take care of that for me when I should have been learning to do it for myself.  So, please hang in there with me as I learn the tips and tricks of photographing and editing my photos.  Okay, enough about me.   On with the card!

I recently purchased the Stampin' Up! Pop-Up Posies Designer Kit.  Awesome, I tell you!  This kit makes it so easy to design a 3-D flower in absolutely no time flat.  I love all the die cuts this kit offers.  I paired my flower up with some Baja Breeze, Crumb Cake and Summer Starfruit card stock.  I also used some Designer Series Paper to finish off the look.  What about you, are you loving the Summer Starfruit card stock?  Me, wellllllllllll......., I'm going to have to work with it a wee bit more.  I have to admit, I'm not loving it just yet.  I do love the Chevron Embossing Folder!  Can you believe this is the first time I broke it out?  Yep, I know, chevrons are so hot right now!  What was I waiting for?  I just inked up my brayer with Whisper White ink and ran it over the embossing folder, cranked it through the Big Shot with the lovely-ish Summer Starfruit c/s and voila` - a more defined pattern!  So, there you have it.  My first creation in what feels like a blue moon!  Hopefully, I can get my Mojo back on.

I do have some other projects to share with you in the very near future.  So, please check back with me.  Thanks for your patience with me during my monstrosity of a sabbatical.  See you soon!

Sunday, October 14, 2012

QUICK AND SIMPLE ORNAMENT KEEPSAKES


In my last post I mentioned that I made two different styles of Save the Date cards for my friend Kim's cookie exchange party.  She's a blingy, "diva"esque kind of gal.  I love glitter and bling as much as any other female, but most of my cards don't reflect that.  I wanted to create something blingy and easy to mass produce.  This is the end result.  It only took me roughly 15 minutes from start to finish to complete this card!!!  Yes, that's an amazing feat for me, my friends.  You do not want to know how long I can spend making just one card.

In the end, this was the card she chose to send out.  Have you played with the coordinating Ornament Keepsakes stamp set and Big Shot dies yet?  Go on, what are you waiting for?  Christmas!  (Smile!)

Enjoy what's left of your weekend and thanks for peeking in on me!


Monday, October 1, 2012

SAVE THE DATE POCKET CARD


Wow!  It's been such a long time since I've posted to my blog.  I've still been checking out all the wonderfully creative papercrafters out there, but I haven't allowed myself the time to actually create for myself.  I apologize for not posting or updating.  Thanks for your patience with me.

A couple months ago, my dear friend Kim asked me to design her Save the Date cards for her upcoming "Diva Christmas Cookie Exchange".  I was very flattered and extremely nervous about her offer.  After much contemplating, I got down to business and created two styles of cards for my dear friend.  One is whimsical.  Yes, this card.  The other card is "diva-esque" with a lot more bling, schmling, diamonds and glitter!  (I'll show that one to you later this week.) 

I used the Owl Occasions stamp set from the Stampin' Up! Holiday Catalog for this little pocket card.  I found a tutorial for pocket cards on Splitcoaststampers.  The inside card pulls out to display all the invitation information.  Oh, and have you tried the new Stampin' Up! Core'dinations cardstock.  It's great stuff I'm telling you!  I've used the Early Espresso paired with the Woodgrain Embossing Folder.  I love the woodgrain look especially when you run the sanding block over it!  It gives the effect of a real tree!

I'm going to forego the supplies list this evening.  If you have any questions regarding the supplies used, please contact me.

Thanks for peeking in this evening!  I'll try to not to be a stranger around here.

Thursday, July 19, 2012

RED HOT STAMPERS RHSSC45 CHALLENGE


In an effort to regain my mojo, I've been searching the web high and low for sketch ideas.  A great sketch challenge can jump start my creativity quicker than anything!  While searching the world wide web, I came across the Red Hot Stampers Sketch Challenge blog.  They offer a new sketch challenge every Sunday.  Here's the sketch from July 15th:


You can see I took great liberty with the sketch, but I'm still pleased with the outcome!

I'll have to update my post later with a list of supplies.  I have a sixteen year old breathing over my shoulder waiting for his turn on the computer.  LOL!